Once, on a master, I had this annoying click in just one spot. It showed up because of a mess of automations, special effects, unlucky layering of everything imaginable, and the piano sample had a super short attack that made it kind of “pop”.
I spent about an hour heroically trying to redo all the automations, trying to figure out why it was happening. I even managed to break the entire project at one point, thankfully I had backups. I did eventually find the cause in one messed-up automation curve, but once I started fixing it, the vibe disappeared (and I would have had to rework the previous minute completely).
Then I thought, what on earth am I doing, and just added an automation that muted the click for a few milliseconds right in that spot. Sometimes, instead of messing around and wasting a ton of time while breaking everything else, you can just fix the problem with duct tape.
By the way, this is good advice in general: don’t overcomplicate things you can fix with simple solutions.
If the autumn vibes outside your window aren’t quite enough, here’s a soundtrack to go with the season. Too bad you can’t attach the smell of a campfire to music, so for the full experience, you might want to find one yourself.
My track Apałaje liście (Falling leaves) is now out on streaming platforms in a new ambient version, with soaring synths, piano, and atmospheric textures.
I first wrote this piece a year ago, and it appeared on my album Natatki. Since then, it’s taken on different forms, from laid-back hip-hop to house. But from the beginning I knew I’d eventually turn it into an ambient track. Honestly, it couldn’t have come out in any other season.
I remember how fascinated I was by the first version of DALL·E, back when it was still invite-only, and the shock it gave me. The world had changed! It seemed to me that it was for the better.
Over these past few years, generative models have become much better and more natural. The results are now almost indistinguishable from real photographs. And as for drawn images forget it. Try now to tell apart hours of human effort from something generated in a second.
I don’t know if this is good or bad, but psychologically it’s easier for me to perceive and trust something made by a person. There’s value in it: human labor, effort, creativity. And all of that was devalued in an instant. I would rather computers take away monotonous, mindless work from people, not their creativity.
In short, I’m biased against all creative content produced by AI. And it’s starting to play a cruel trick on me, when I mistakenly take human work for a machine’s output and devalue it.
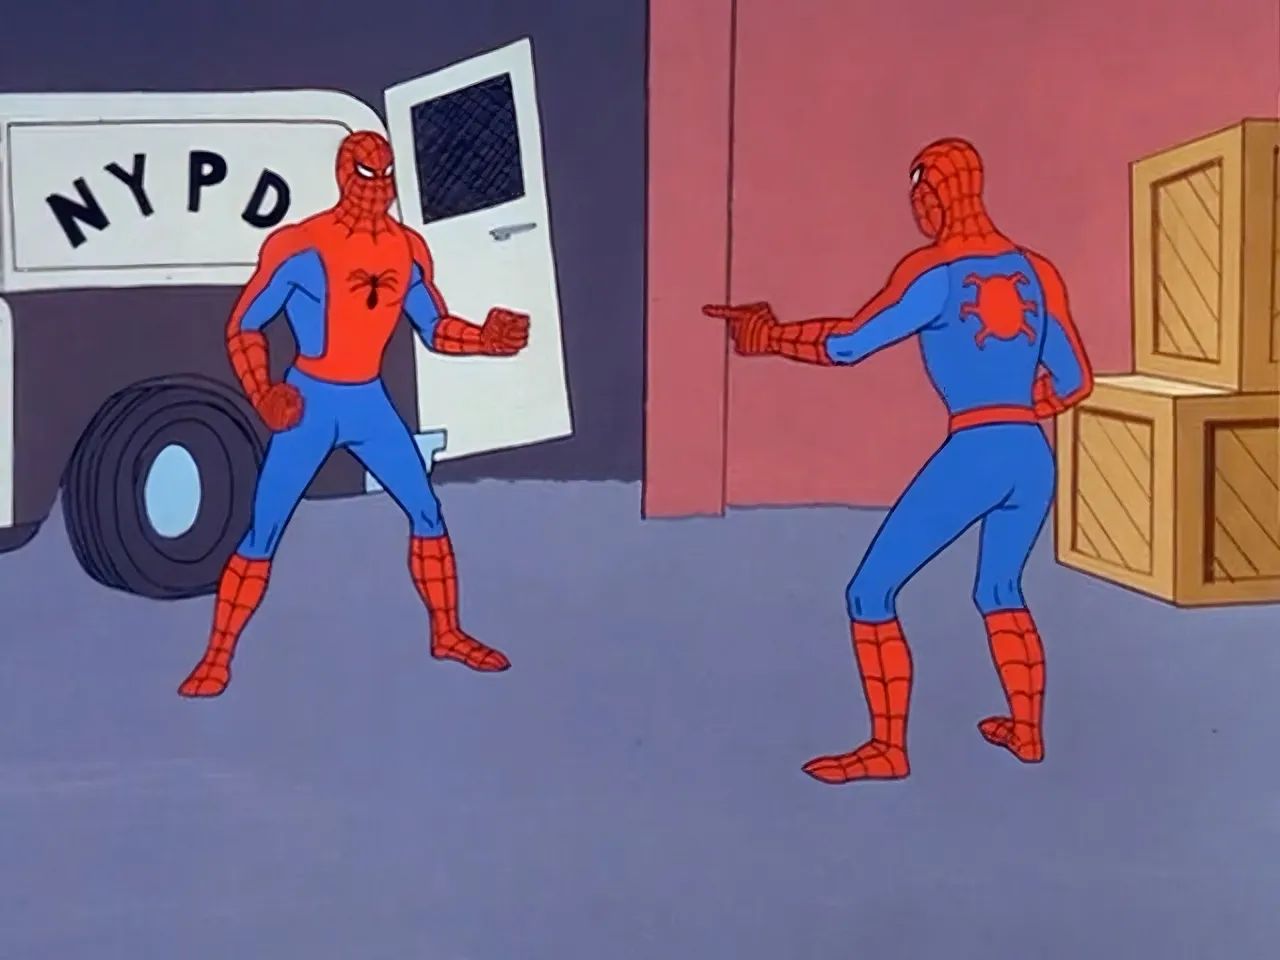
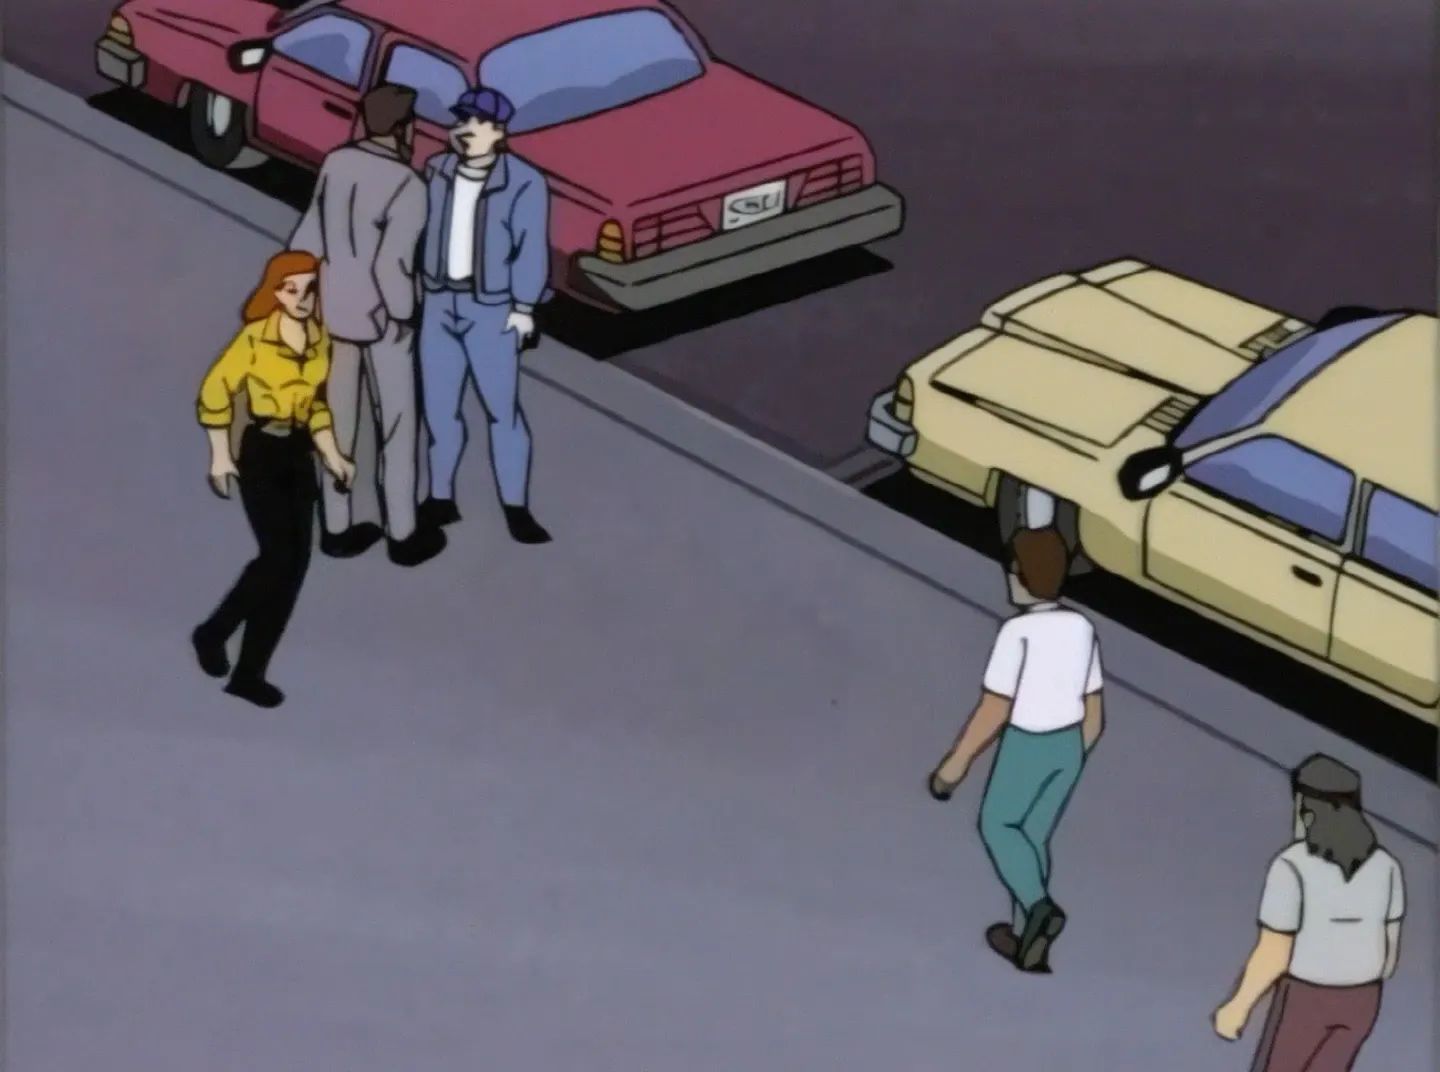
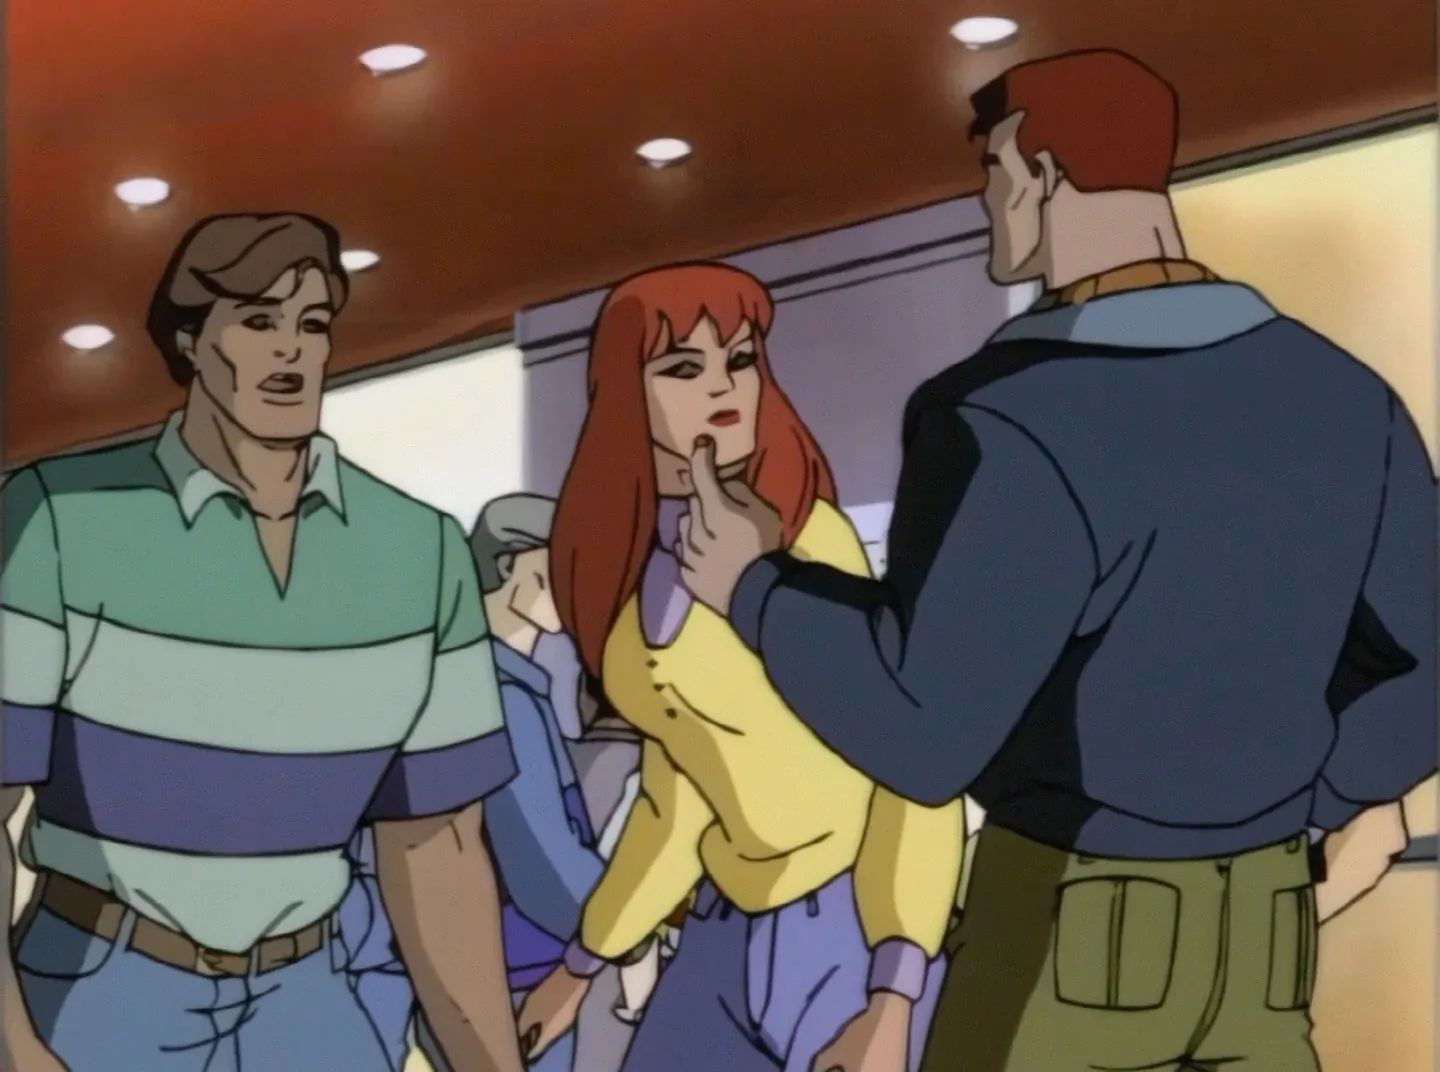
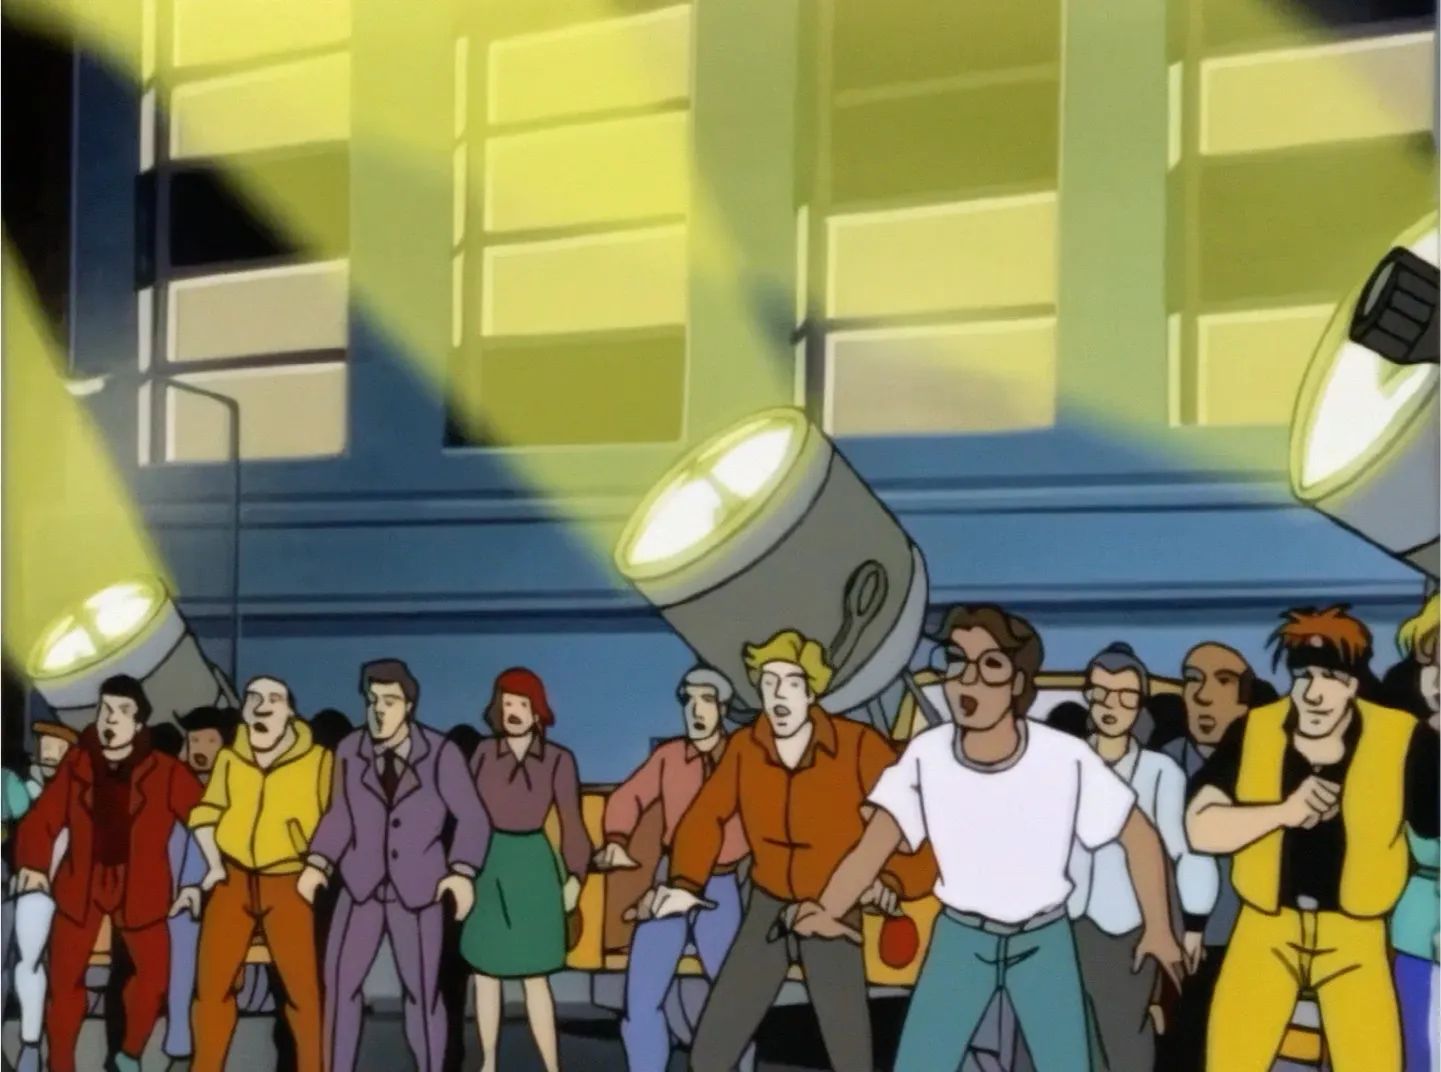
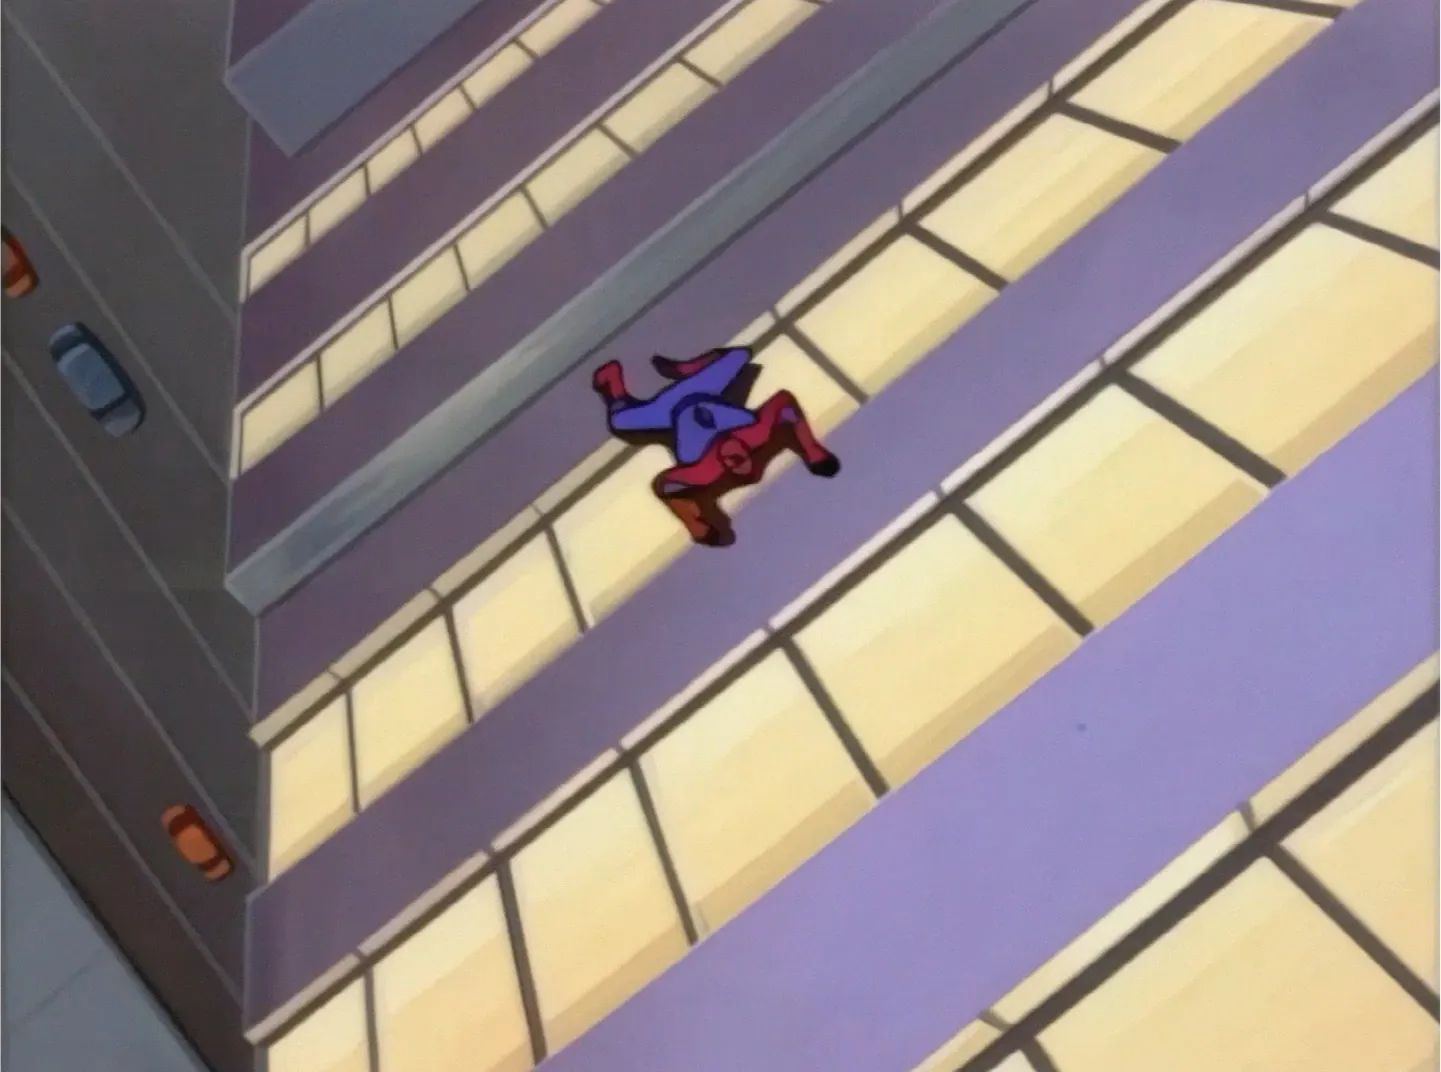
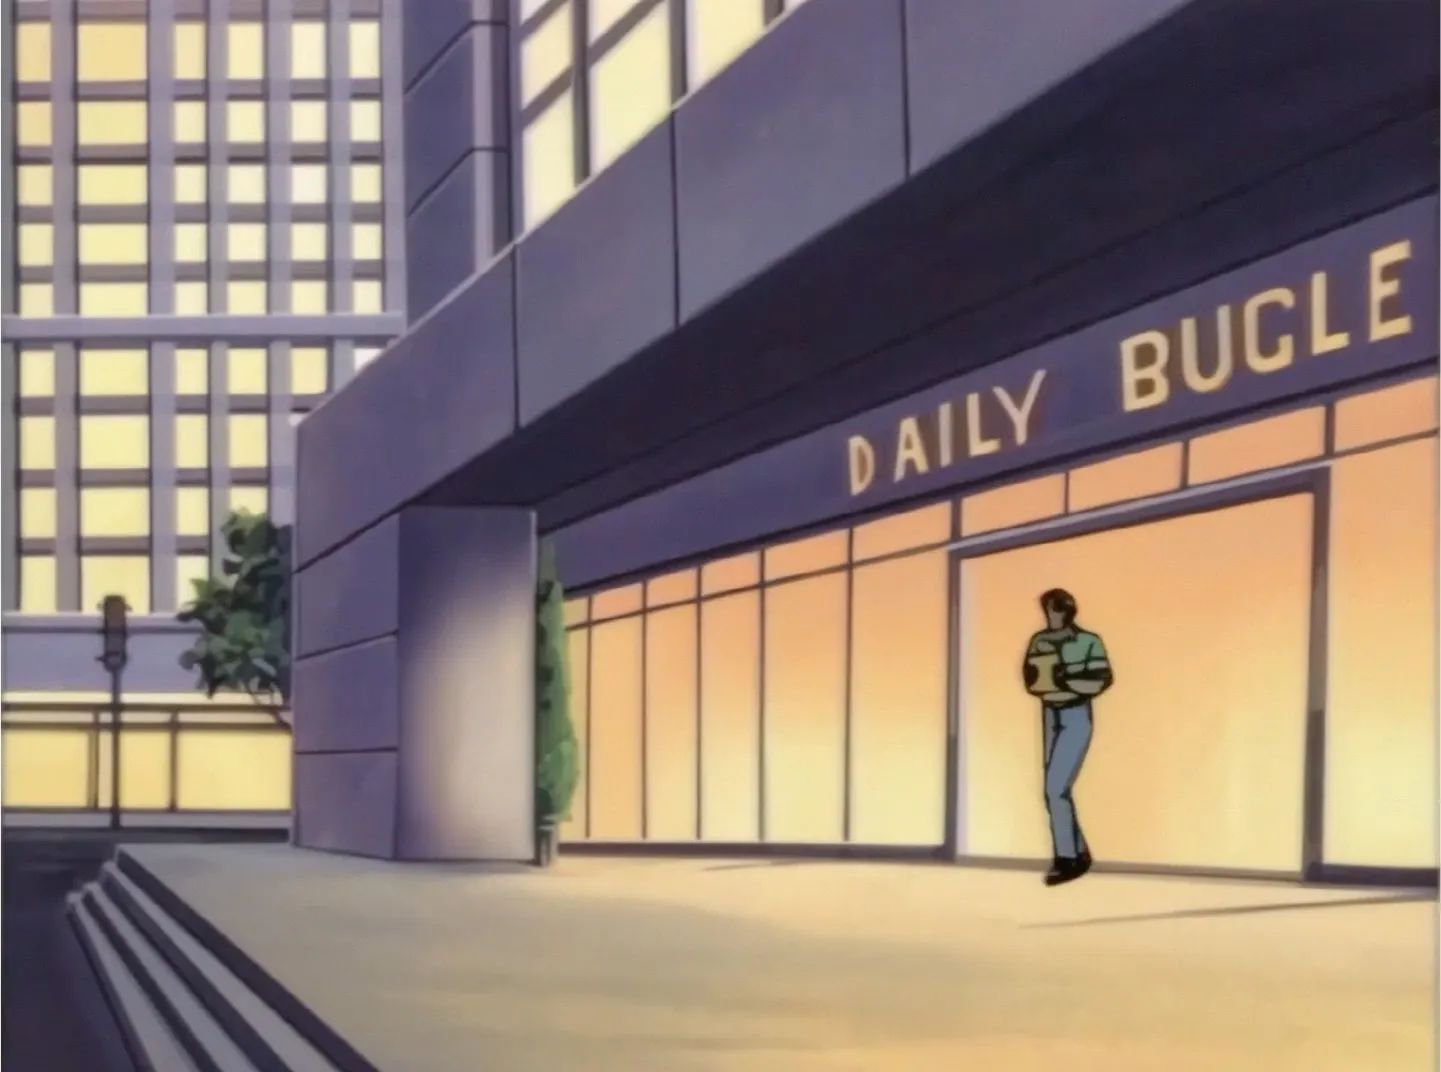
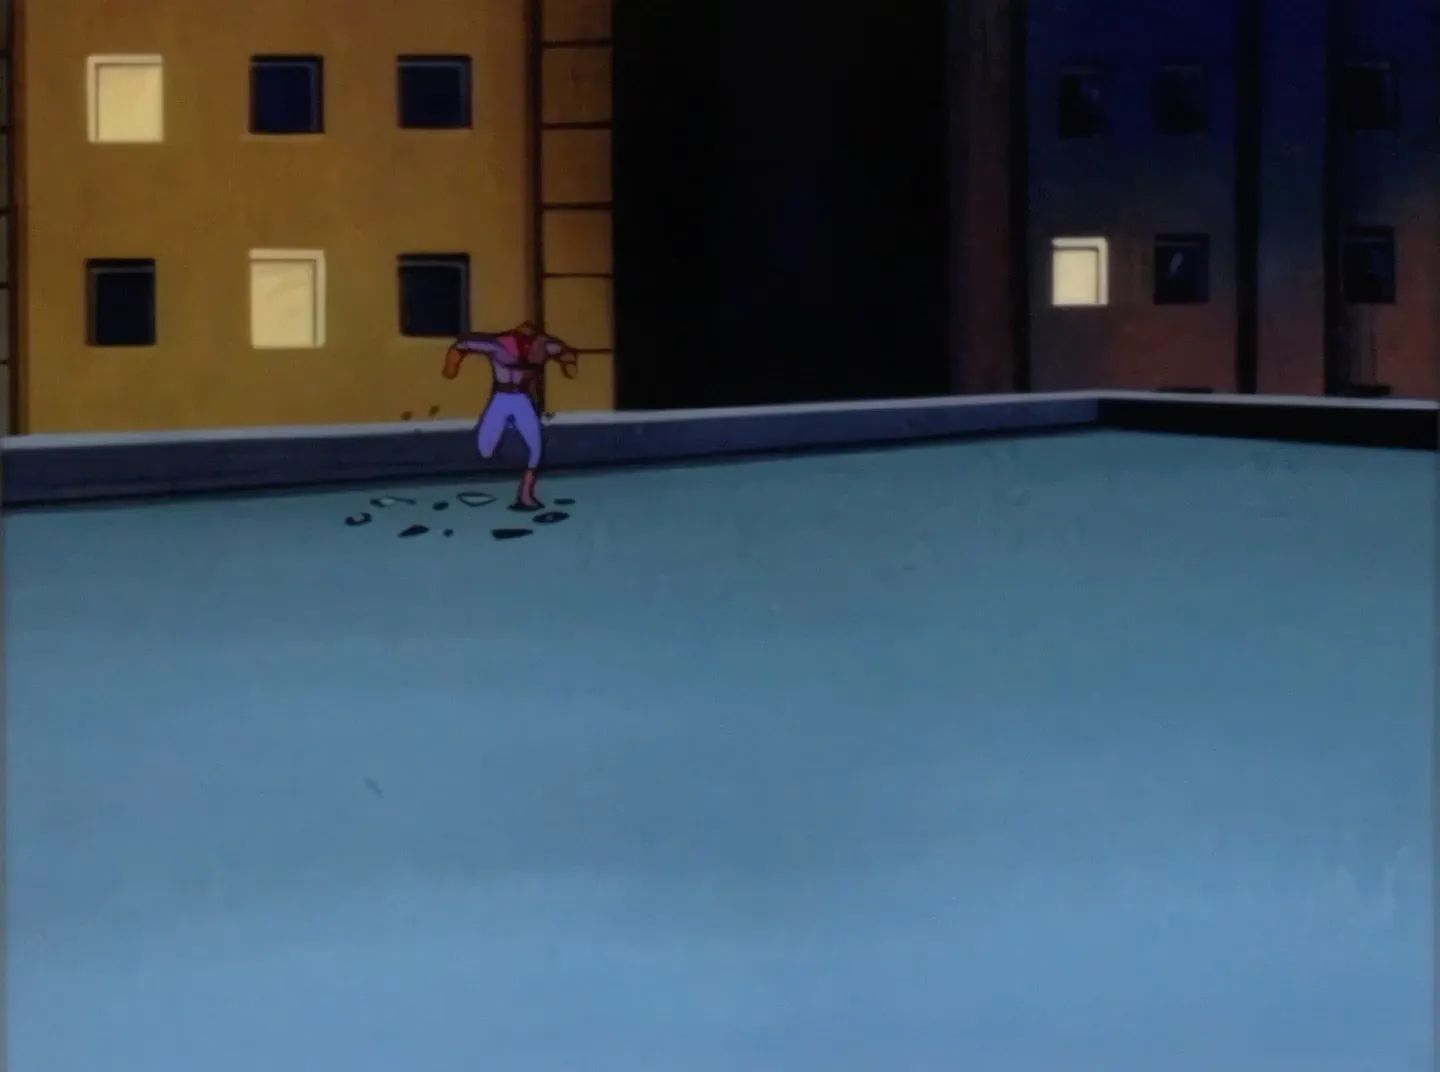
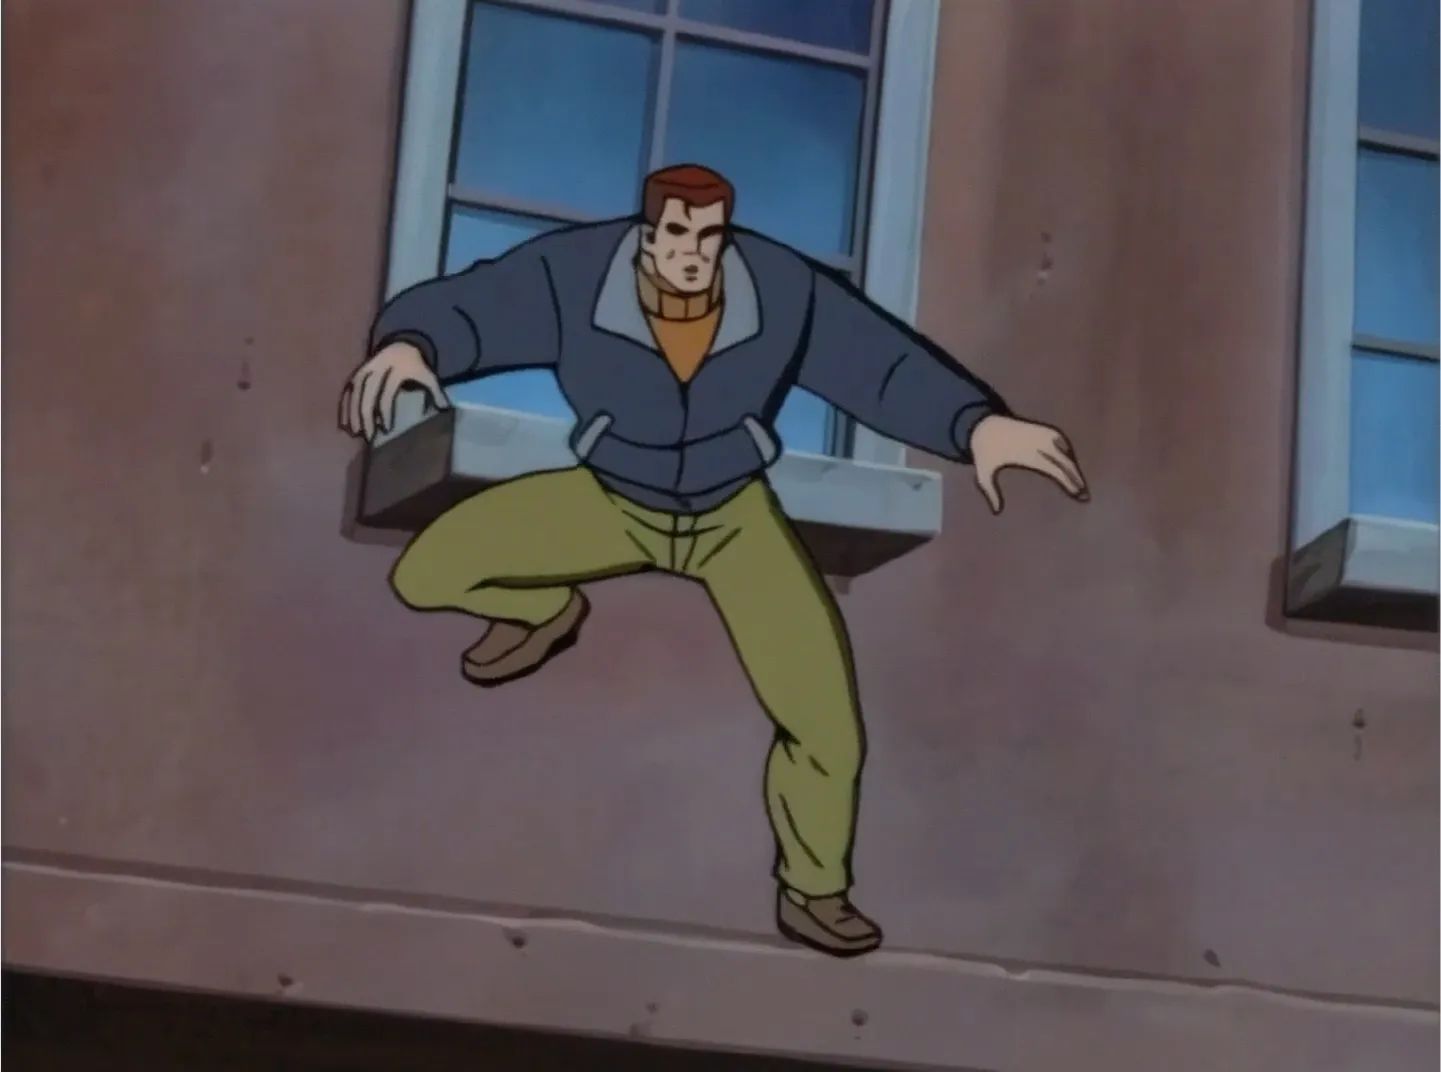
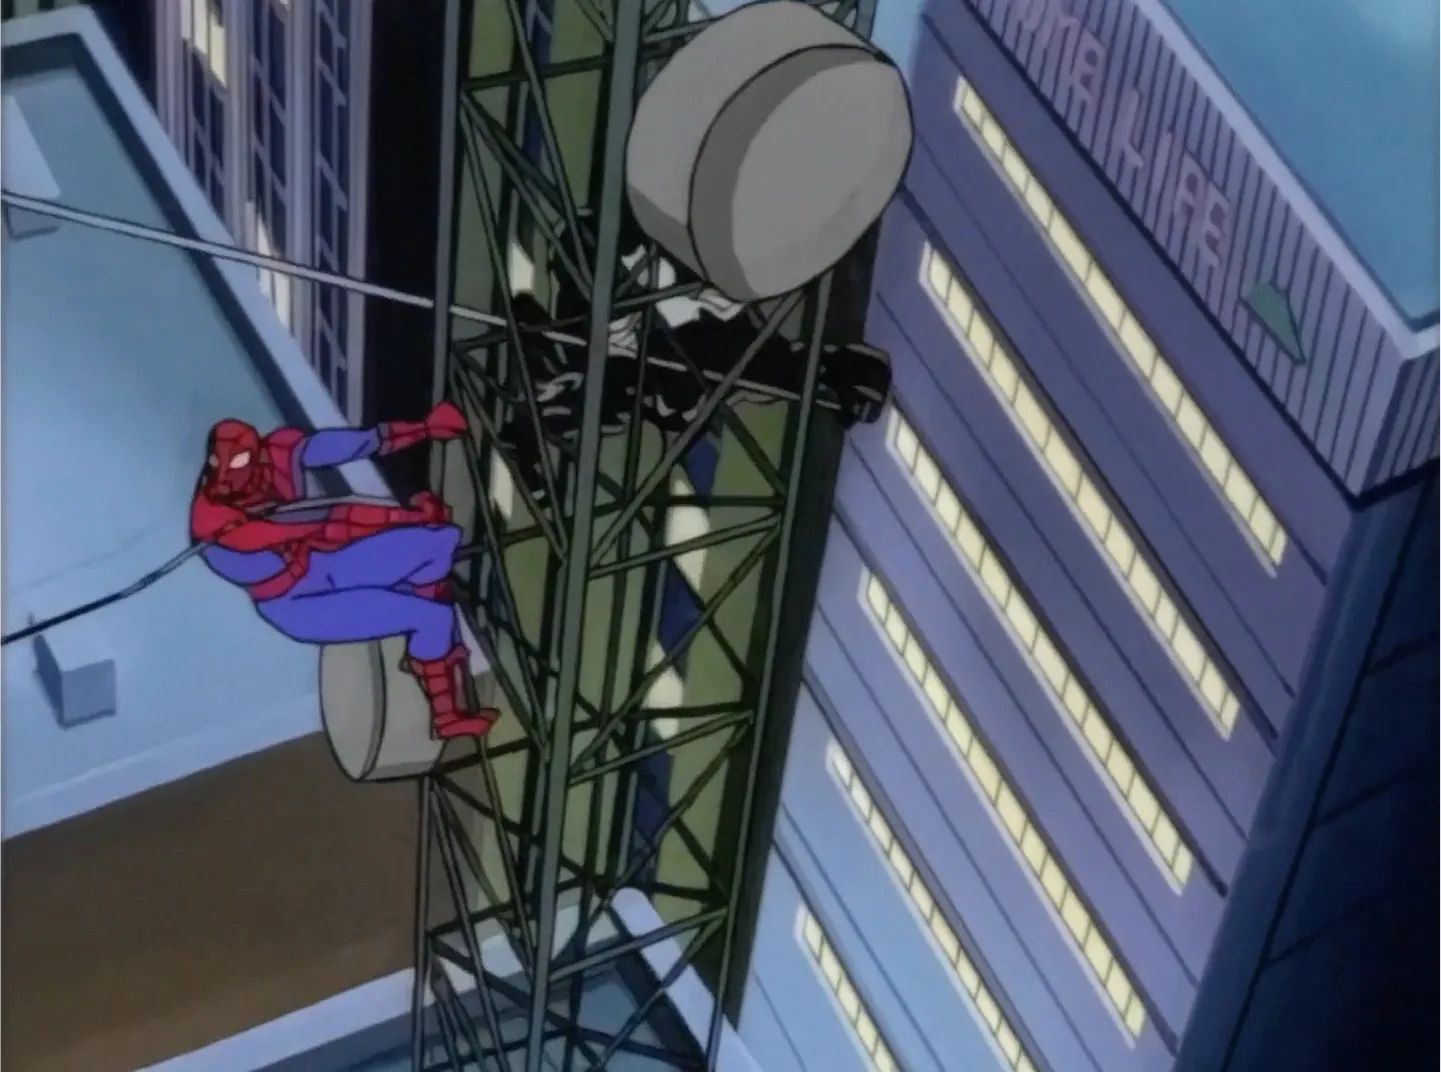
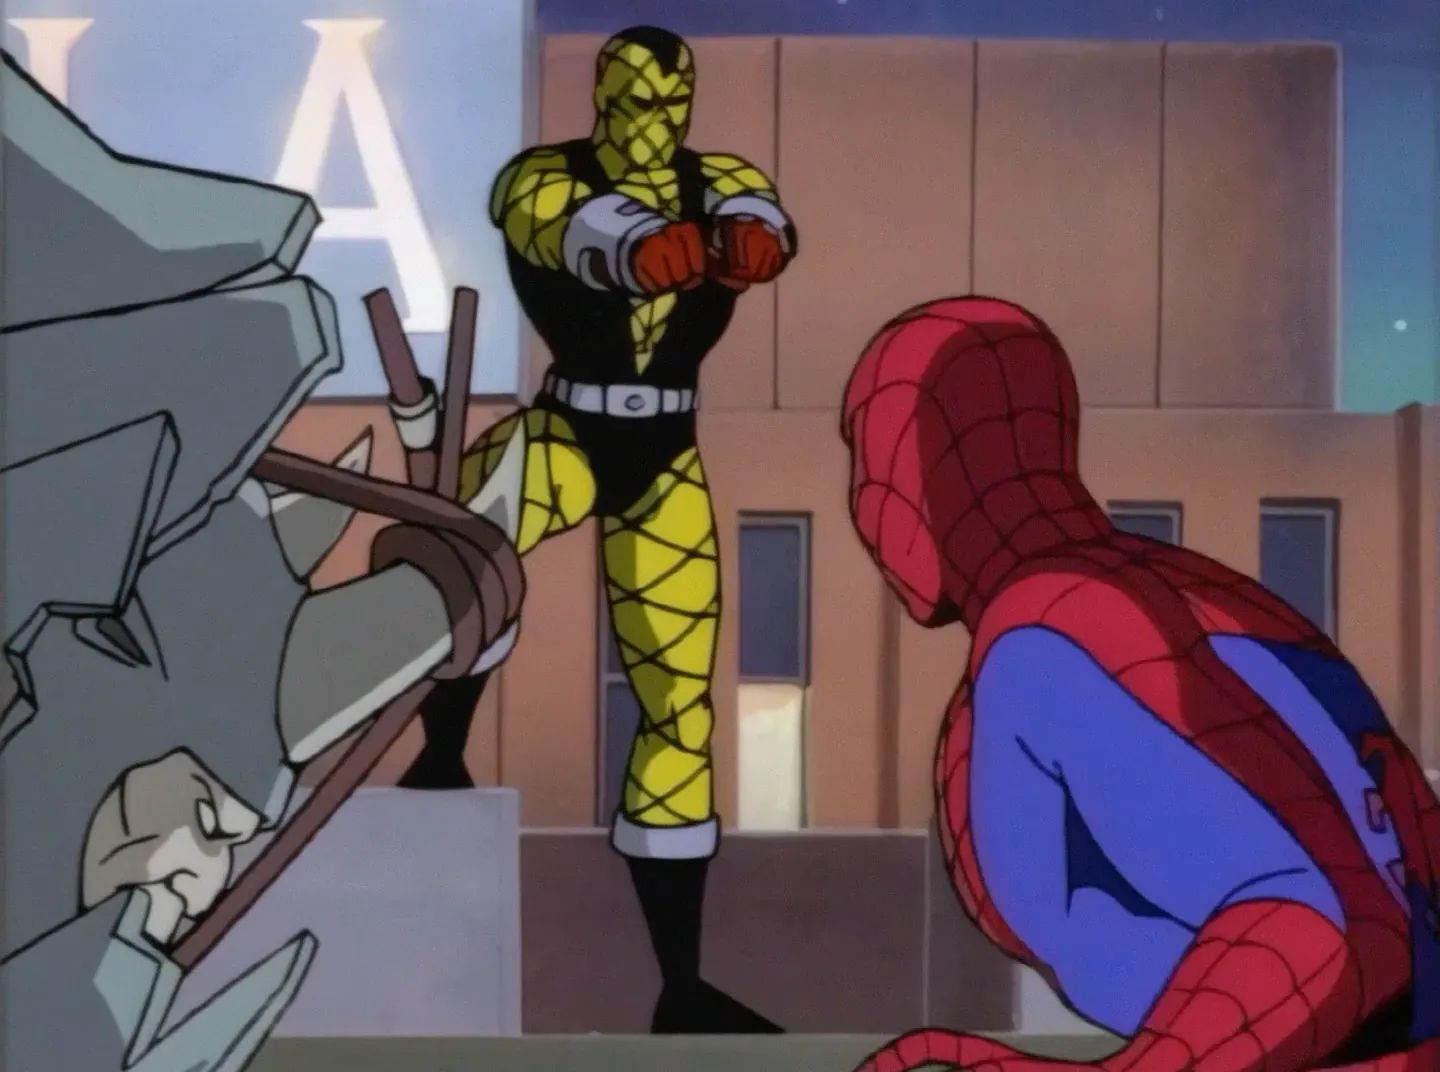
The other day I was rewatching Spider-Man from 1994. It’s one of the most classic Spider-Man cartoons. Back then, such graphics weren’t possible, the standards for visuals were lower, and sometimes the artists saved time where they could.
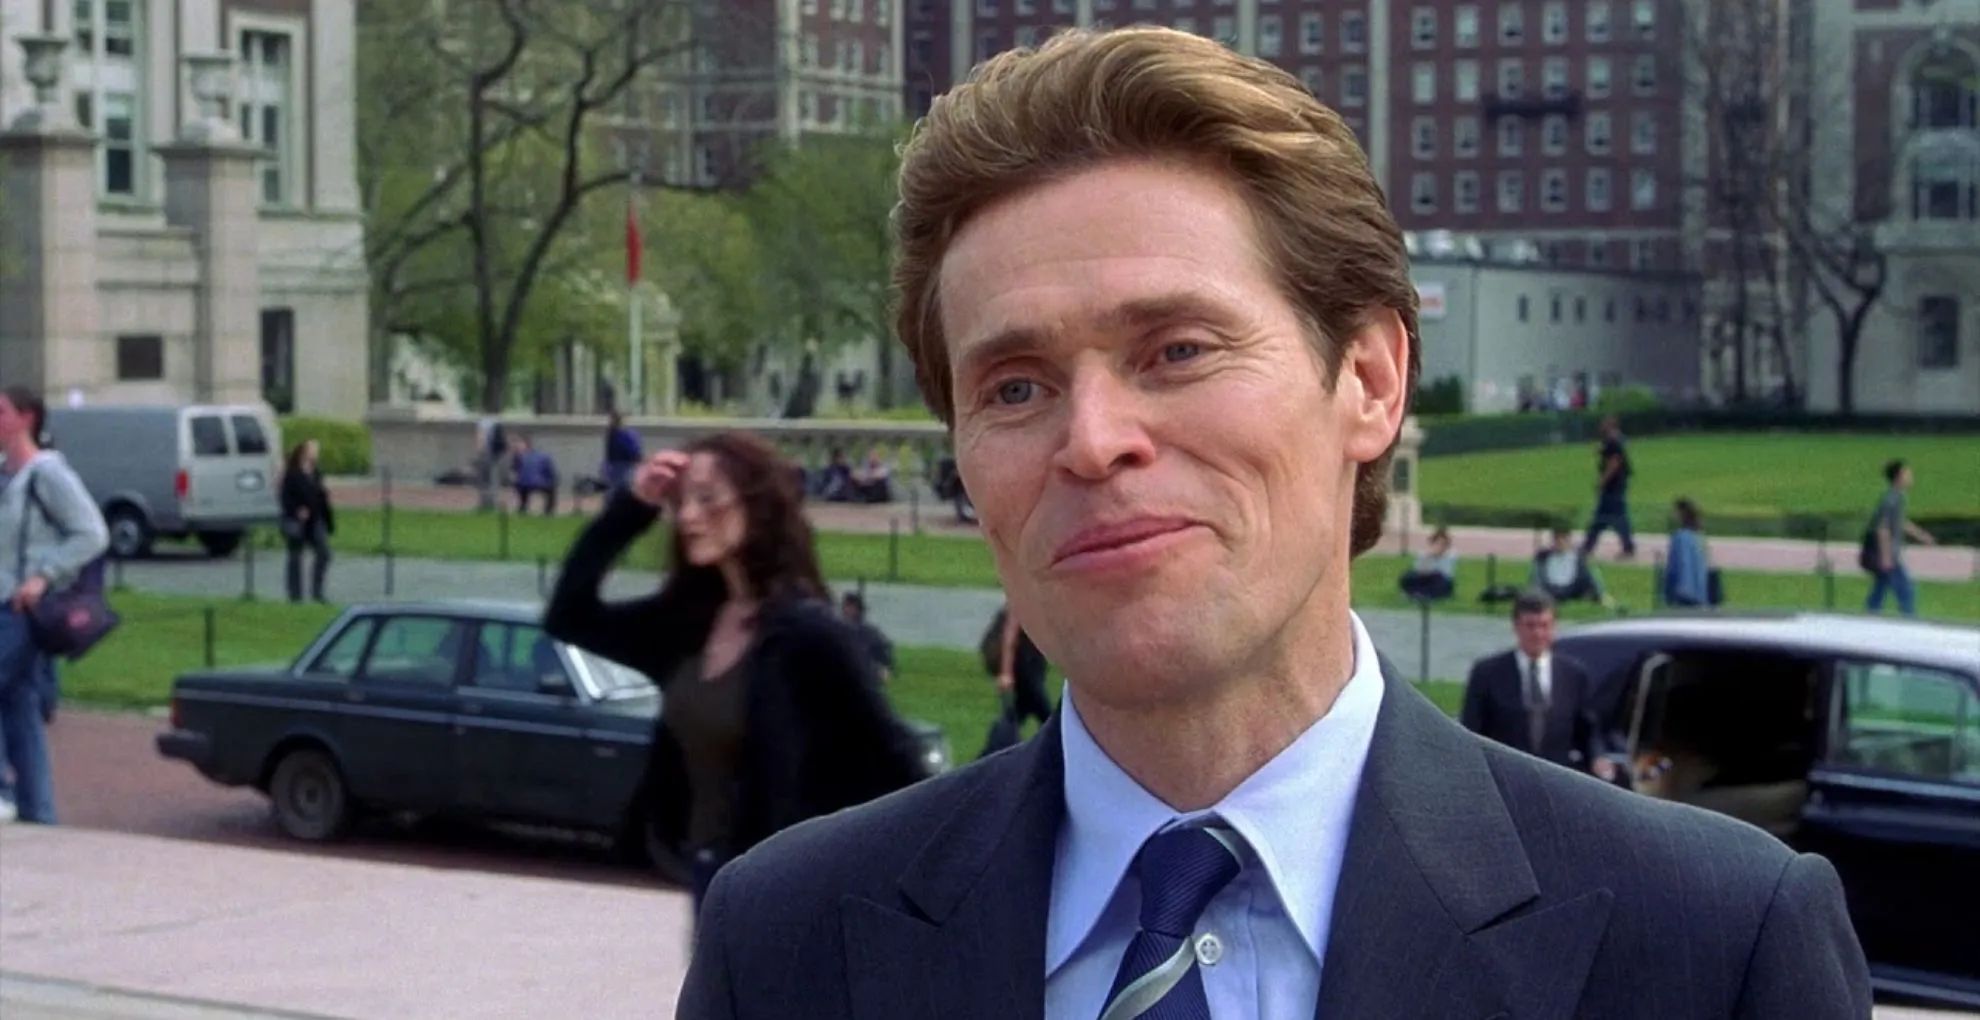
– You’re AI. No, you’re AI. In reality, this is a frame from the 1968 cartoon, but I couldn’t resist inserting it here.
And the joke is that if you showed these frames today to someone who hadn’t seen that cartoon, they would most likely say it was drawn by some cheap, low-budget model. A classic was devalued in an instant.
Cartoons have already been taken from us. Ordinary videos are almost gone. Music will be taken tomorrow.
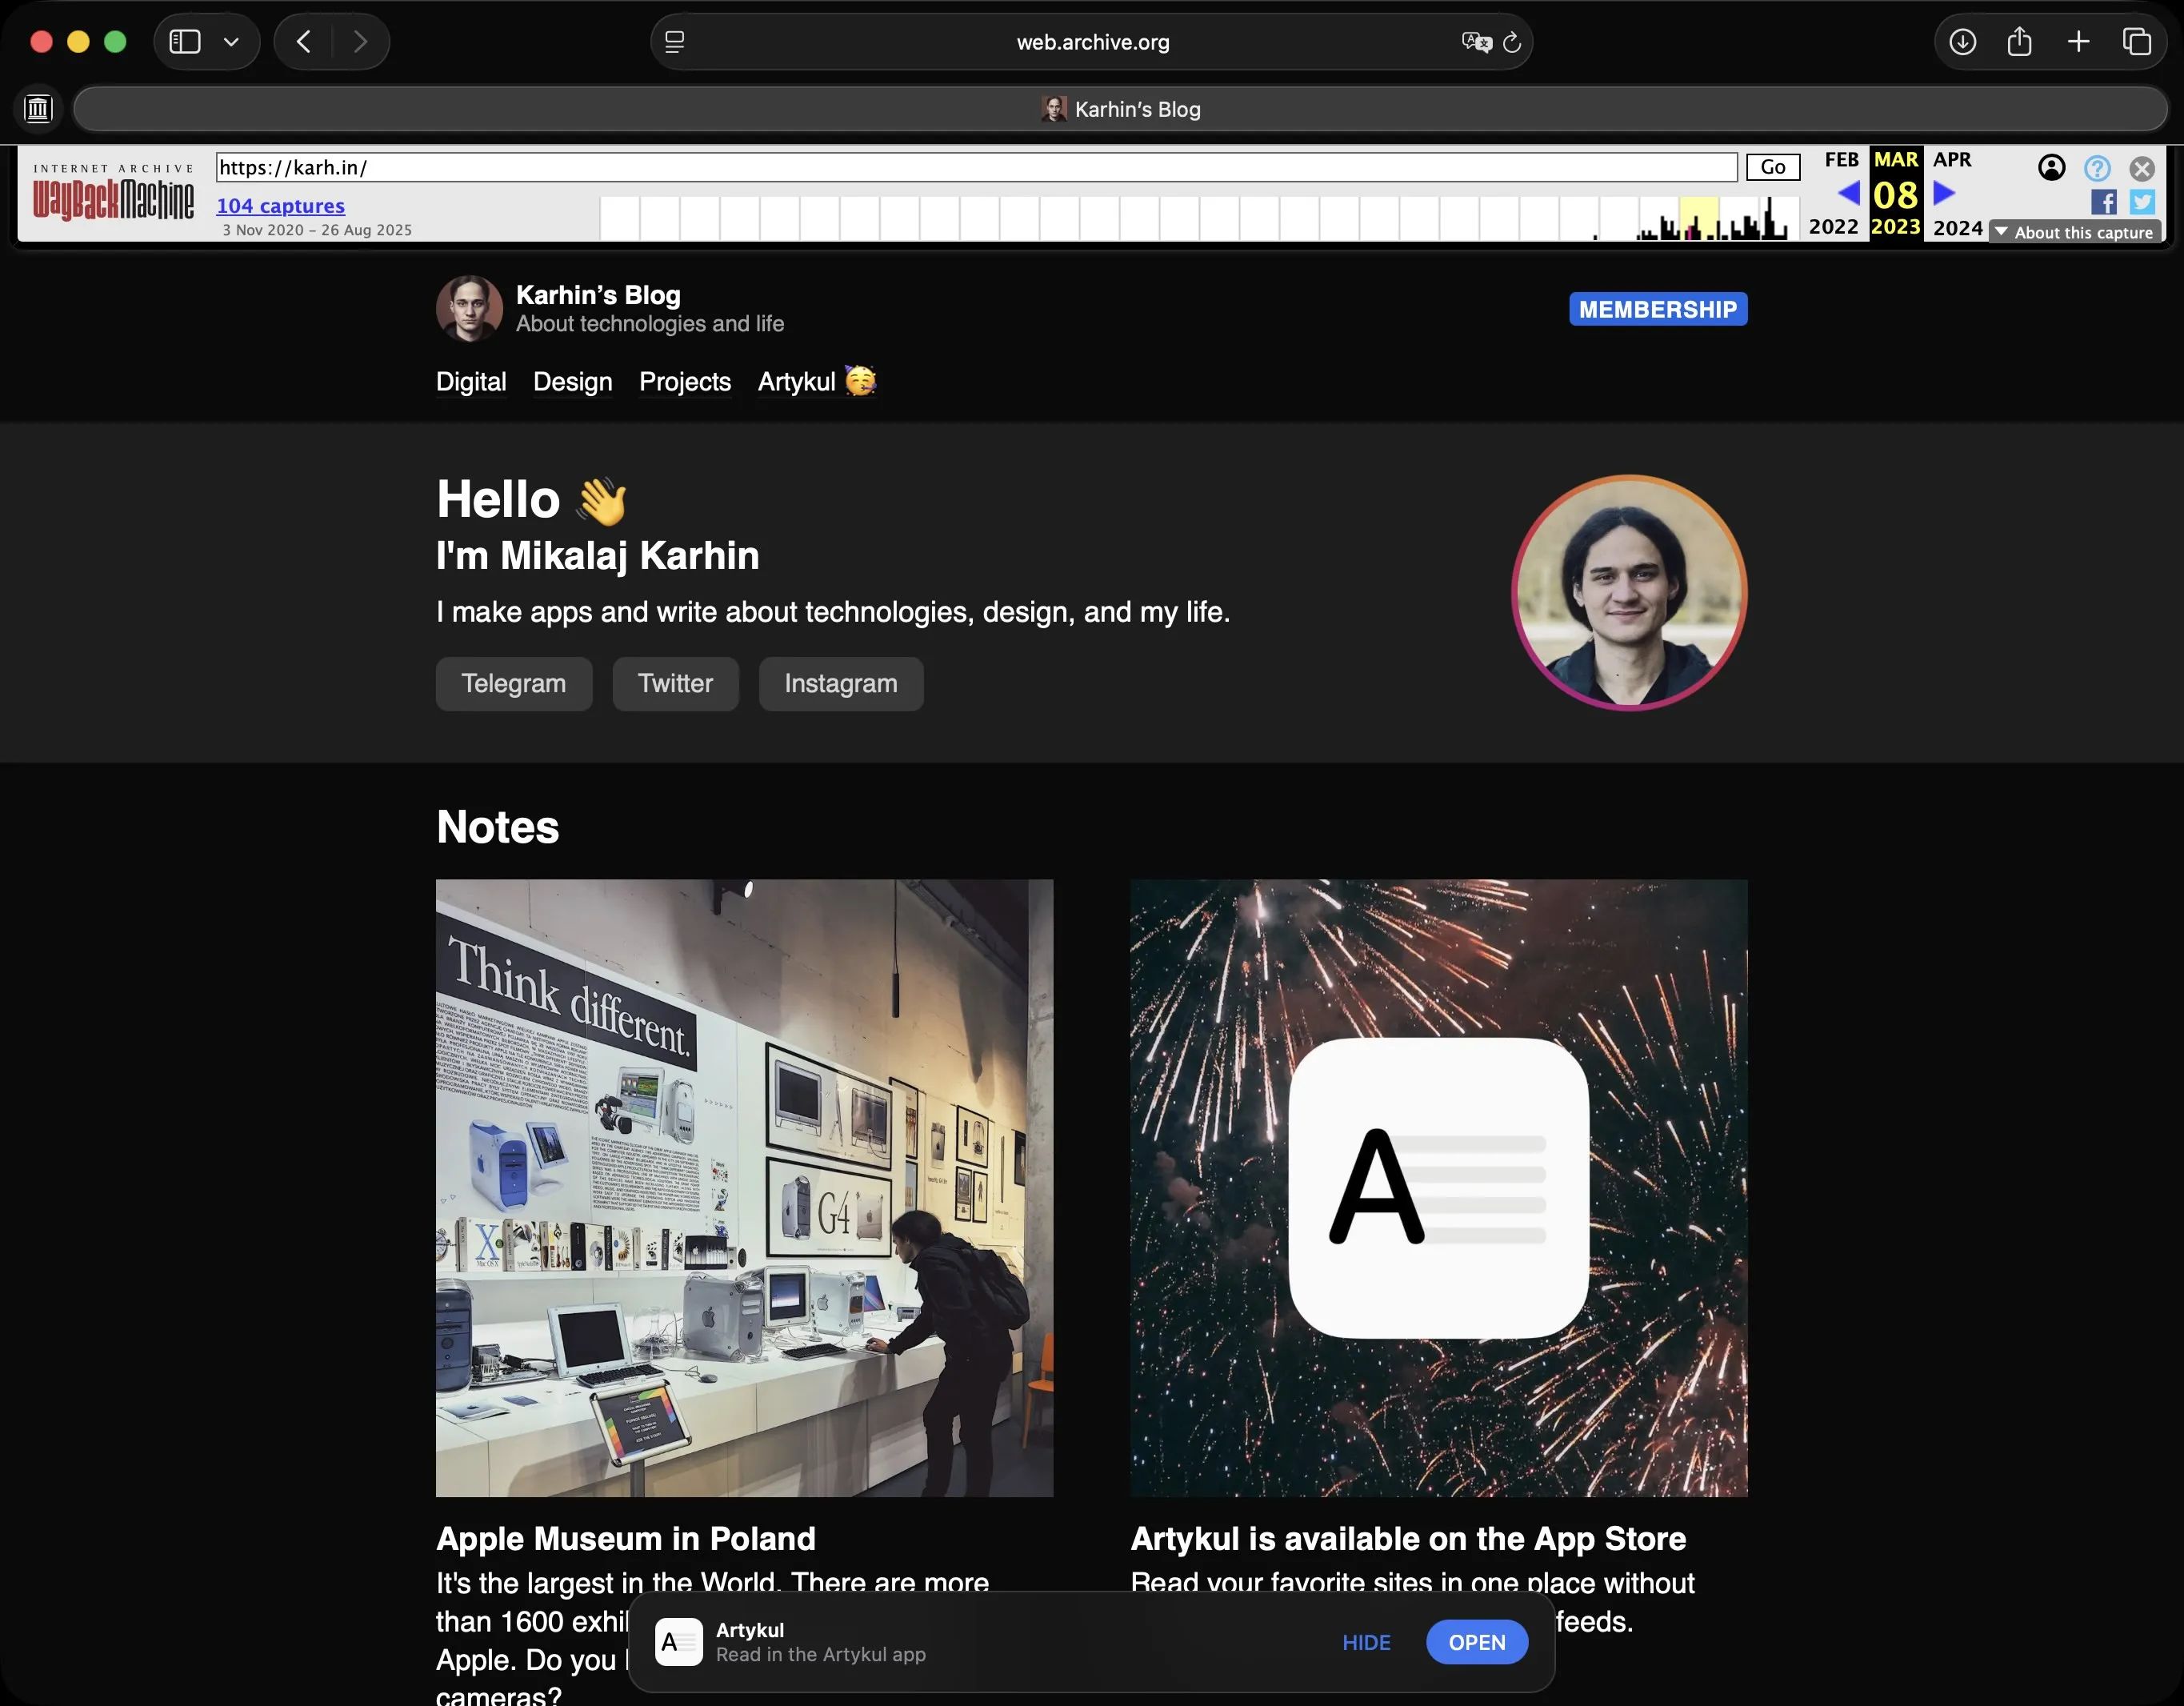
Wow! You’re now looking at the updated design of my personal website™! I haven’t changed anything here in a long time. Thanks, as always, to Timur for helping with a bit of redesign.
There was one problem with the previous design. It was too tied to graphics, and I got tired of making fun pictures. I even thought about adding something like a microblog here to make posting easier, but I changed my mind in time 😁
This design is now part of history, unless I suddenly decide to roll it back.
As part of the redesign, the look of the main feed has changed (now posts are displayed in full), the tag feed layout was updated, fonts were changed, and some other small details too. I think more changes will come along the way.
Lately, I’ve been writing a lot on Telegram, but they cut off web access to my channel a long time ago. On top of that, they can delete or block an account at any time (and there’s no such thing as support there). I wouldn’t be surprised if they keep moving further toward restricting access to the platform.
And the truth is, Telegram isn’t really used in the English-speaking world. And if someone does use it… Well, you know what they’re buying there. Besides, Telegram is designed so that it’s basically impossible to discover content.
At least on the regular web, you can still compete in search with throwaway websites stuffed with LLM-generated content. Though I don’t even know if anyone still goes out onto the regular internet. We’re living in some kind of cyberpunk world with a Blackwall made of social networks that don’t let anything out.
Social networks in general have gone downhill. It’s all dopamine, clickbait, and content that becomes outdated before you even hit “publish”. But you already know all that yourselves.
And there’s a lot of work ahead. I need to transfer all my old posts from Telegram here.
I had a discussion with an old friend. Making even simple good music isn’t enough, and no one listens to good music just like that, because there’s simply too much of it. Btw, I’m pretty sure that the real quality of music can only be determined over time. And one of the most important metrics is relistenability. Not how hard the bass hits, how cool the piano part is, lofi/hifi, all of this is only artistic characteristics, but that’s a topic for another time.
My initial hypothesis was that without some sort of “bait”, no one will appreciate or listen to a track in 2025. Even your acquaintances and friends don’t care about it. No matter how good it is, how much soul you put into it, etc.
You know, I’m something of a scientist myself, and I prefer to test hypotheses with numbers, not just “that’s how I feel”, so I decided to either confirm or disprove it.
I love posting demos on Instagram (this is still the main social media, right?). I’ve long noticed that people just don’t listen to them. Nobody cares, even though you worked so hard. That can even make you feel sad, honestly!
At this point someone will say “бля, Калян зноў крынжа наваліў” or “well, your music is shit, that’s why no one listens to it”. You can’t really argue with that. At some point you might even start to believe it. I probably would too, if I didn’t have the numbers.
So, to test the hypothesis that music itself is secondary to whether people even give it a first listen, I decided to do something unethical. I simply took a track by a successful producer with a million plays in a similar style, and… posted it as my demo. I specifically chose a track that they most likely hadn’t heard before.
What happened next? Nothing. (Honestly, I was hoping there’d be some kind of reaction). If we take the Instagram Stories “like” slider as a metric, it was a complete failure. The track got fewer reactions than my own demos. By that metric, this demo shouldn’t have gone anywhere.
So what’s the conclusion? Nobody cares that you wrote a “hit”. Basically, making good music (or a product in a broader sense) means nothing. Presentation and marketing are just as important, if not more so. If you’re starting something new, always keep this in mind. In 2025, nothing takes off on its own. Either you’re very lucky (statistically, your chances are slim, sorry).