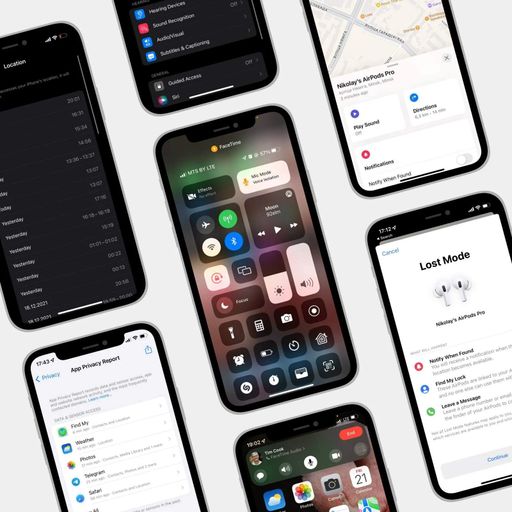
You can see an expanded UINavigationBar with additional UIViews located below the title in many native Apple applications.
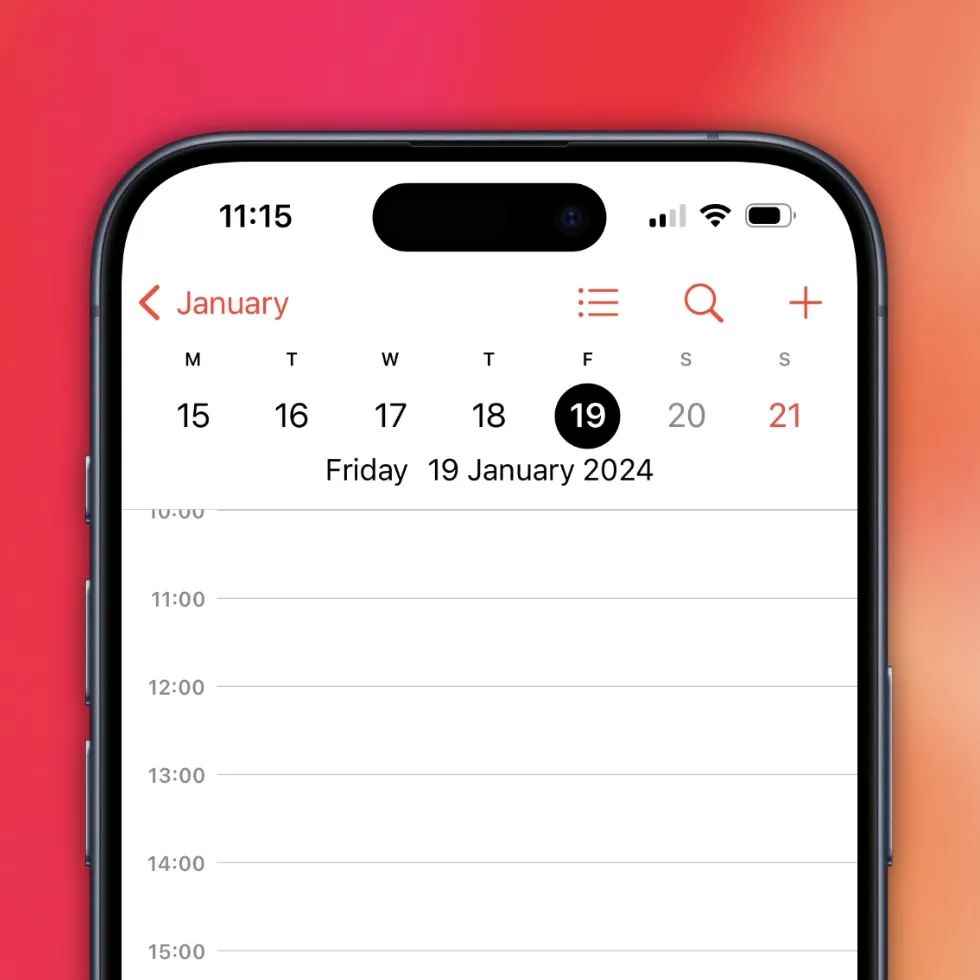
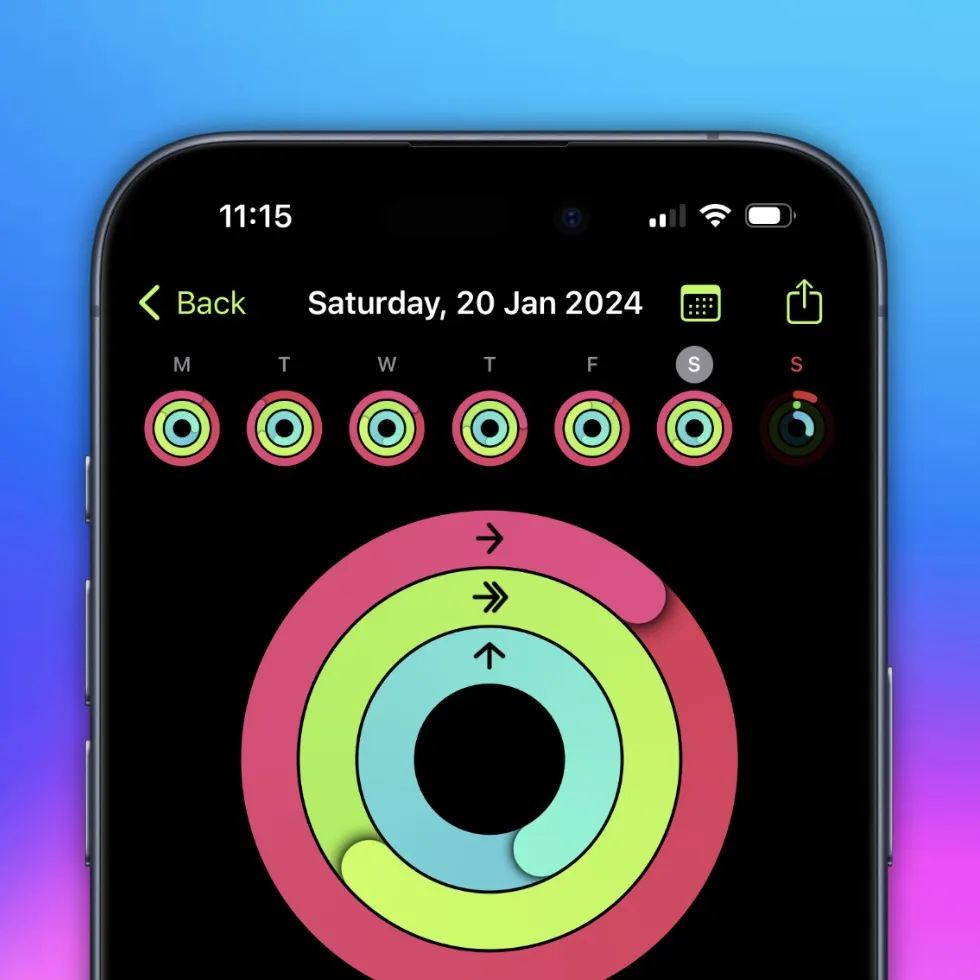
There is a very simple way to add your own UIView as a pallet in UINavigationBar using private API, which was discovered by @SebJVidal. You can take the source code from the tweet and close the article. Just don’t forget to obfuscate the private selectors before the review 😁
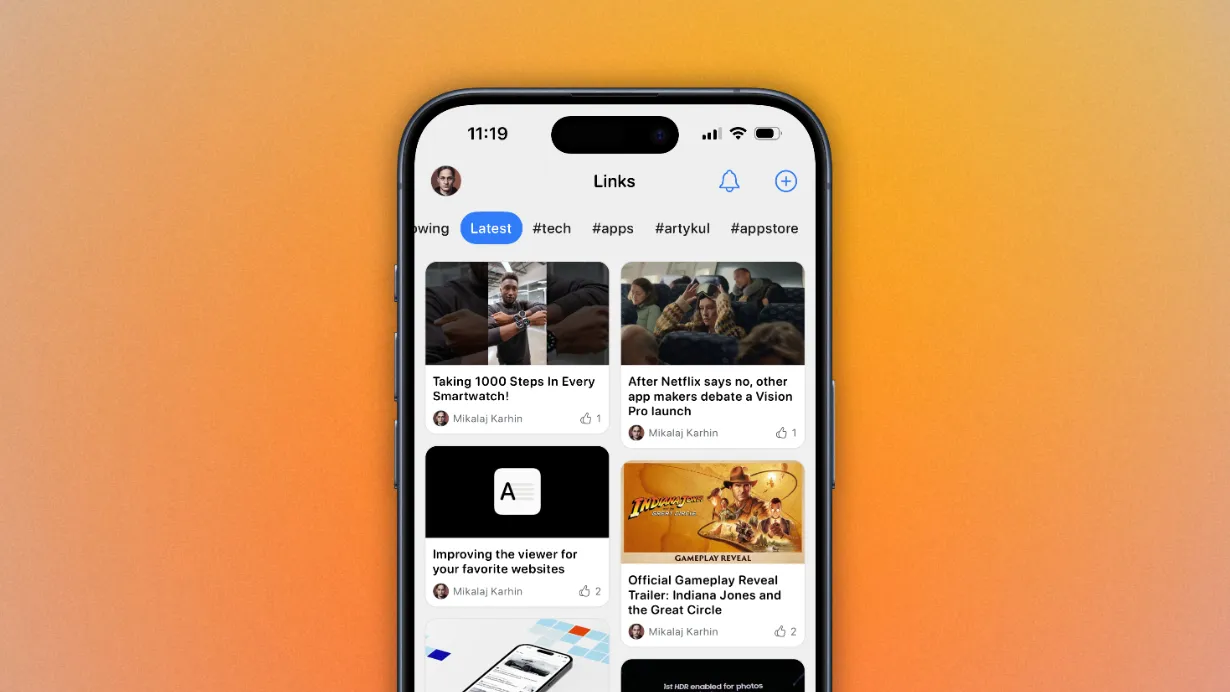
But there is another way. In the latest update of Artykul, in the new Links section, I recreated similar behavior without using a private API and at the same time, I didn’t have to create my own UINavigationBar from scratch.
Before coming to a solution, I tried making subclasses of UINavigationBar, trying to add UIView directly, and some other things that either don’t work or break the smooth transitions between UIViewController. The main conclusion I reached is not to even try to touch the navigation bar.
Sometimes the simplest solutions, which lie right on the surface, are hard to see at first. This is one of them.
The main trick is not to try to extend what cannot be extended by design, but to recreate this behavior. Fortunately, it’s fairly simple to do so.
All the source code is available in this repository. I will only focus on a few key points that explain what is happening.
Visual
You need to make the UINavigationBar completely transparent. This is best done through UINavigationBarAppearance, if you don’t want to break transparency in the UINavigationController stack.
let appearance = UINavigationBarAppearance()
appearance.configureWithTransparentBackground()

navigationItem.standardAppearance = appearance
navigationItem.scrollEdgeAppearance = appearance
navigationItem.compactAppearance = appearance
navigationItem.compactScrollEdgeAppearance = appearance
Now we can start creating our PalletView. The original naming from the private API looks strange, so let’s call it a pallet.
We need to recreate the original border (or shadow) and background blur. The color of the original “shadow” can be obtained from the already familiar UINavigationBarAppearance. The height of this shadowView should be equal to one physical pixel: 1.0 / UIScreen.main.scale.
private let shadowView: UIView = {
    let view = UIView()
    view.translatesAutoresizingMaskIntoConstraints = false

    let navigationBarAppearance = UINavigationBarAppearance()
    navigationBarAppearance.configureWithOpaqueBackground()
    view.backgroundColor = navigationBarAppearance.shadowColor

    return view
}()
The background is simpler. You can use anything, but to closely match the original UINavigationBar, it’s best to use this effect.
let standardVisualEffect = UIBlurEffect(style: .systemThinMaterial)In the original implementation, it’s easy to notice that the shadow and background are hidden when we’re at the very top of the UIScrollView. Therefore, it’s necessary to provide two methods that will be used to respond to scrolling.
func scrollEdgeAppearance() {
    shadowView.alpha = 0.0
    visualEffectView.effect = nil
}

func standardAppearance() {
    shadowView.alpha = 1.0
    visualEffectView.effect = standardVisualEffect
}
Layout
A UILabel is used as the contentView, but you can replace it with anything you like. The most important aspects are:
- The visualEffectView should match our PalletView.
- The shadowView needs to be attached to the bottom of the PalletView.
- The top anchor of the PalletView should correspond to view.topAnchor.
- The bottom anchor of the PalletView should correspond to the bottom anchor of the contentView.
- The top anchor of the contentView should correspond to view.safeAreaLayoutGuide.topAnchor.
// View Controller

palletView.leftAnchor.constraint(equalTo: view.leftAnchor),
palletView.topAnchor.constraint(equalTo: view.topAnchor),
palletView.contentView.topAnchor.constraint(equalTo: view.safeAreaLayoutGuide.topAnchor),
palletView.rightAnchor.constraint(equalTo: view.rightAnchor)
// PalletView
contentView.leftAnchor.constraint(equalTo: safeAreaLayoutGuide.leftAnchor, constant: 0.0),
contentView.rightAnchor.constraint(equalTo: safeAreaLayoutGuide.rightAnchor, constant: 0.0),
self.bottomAnchor.constraint(equalTo: label.bottomAnchor, constant: 8.0)Since we have PalletView placed on top of a UIScrollView or UICollectionView, don’t forget to add an inset to it equal to the height of PalletView minus the safeArea. Also, remember about the scroll indicators.
override func viewDidLayoutSubviews() {
    super.viewDidLayoutSubviews()
    collectionView.contentInset.top = palletView.frame.height - view.safeAreaInsets.top
    collectionView.verticalScrollIndicatorInsets.top = collectionView.contentInset.top
}
Scroll
Now, all that’s left is to animate the palletView. Here, we’ll need the two methods we added earlier. Just remember to add the height of palletView to the contentOffset, since we manipulated the inset.
public func scrollViewDidScroll(_ scrollView: UIScrollView) {
    let scrollContentOffset = scrollView.contentOffset.y + palletView.frame.height
    if scrollContentOffset > 0.0 {
        UIView.animate(withDuration: 0.100, animations: {
            self.palletView.standardAppearance()
        })
    } else {
        UIView.animate(withDuration: 0.100, animations: {
            self.palletView.scrollEdgeAppearance()
        })
    }
}
There is still some room for improvement here. In the original UINavigationBar implementation, the animation is not done through a timer, but rather based on the scroll value within a very small range (approximately 4 points). So, the code should look something like this.
public func scrollViewDidScroll(_ scrollView: UIScrollView) {
    let scrollContentOffset = scrollView.contentOffset.y + palletView.frame.height
    if scrollContentOffset < 0.0 {
        self.palletView.setVisibilityPercentage(to: 0.0)
    } else if scrollContentOffset < 4.0 {
        self.palletView.setVisibilityPercentage(to: scrollContentOffset / 4.0)
    } else {
        self.palletView.setVisibilityPercentage(to: 1.0)
    }
}
You can try implementing this yourself, but it will require diving into the wonderful world of UIVisualEffectView if you plan to use the blur effect, but that’s a whole different story 😁
Result
The entire source code with an example is available in the repository.

Comments
To post a comment, please log in or create an account.
Sign In